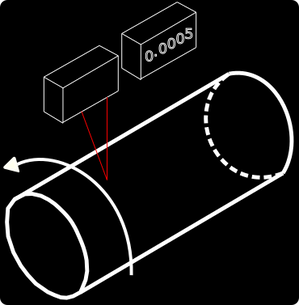
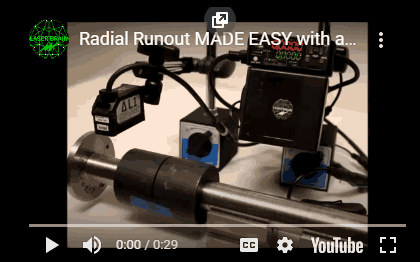
OD RunoutRunout leads to excessive wear and tear on bearings and shafts and is a sign of poor manufacturing quality. It is possible to have good overall alignment between parts, but still have a runout problem. Don't overlook it! Before performing alignment on shafts and spindles, it is best to check for runout first.
Runout measurements such as OD and ID Radial Runout, TIR, "Face" Runout or wobble are easier and faster with a DELTA LASER compared to mechanical methods. Set up the Delta Laser for quick periodic checks or leave it running for continuous monitoring. It can be used on high speed shafts (2000 rpm +) and BLUE Delta lasers on high temp surfaces (500 C +). |
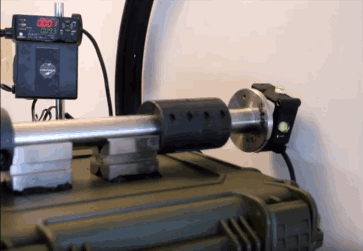
ID RunoutFor inner diameter runout, the DELTA LASER should be fixed to a shaft or other component concentric to the rim or housing being inspected.
This can be used to check ID runout on engines and turbines, much like a dial indicator, only better and easier. |
How it works
The DELTA LASER aims at a part surface and measures the relative distance. As the part rotates, any runout will cause the distance to increase or decrease and the laser measures these variations in real-time. The maximum and minimum values are stored in memory, and the difference can be calculated instantly by pressing a button, which yields the runout value.
This can be used as a quick benchtop inspection tool for shafts, couplings, and other objects, or as a non-stop monitoring system, to observe runout trends over time and prevent machine failure or disaster in advance. Failed components seem to always cause machinery downtime at the worst of times, and this system will help schedule routine maintenance when it is more convenient.
Not only is the laser faster and more convenient than using a dial indicator, but it can be used in environments where dial indicators would normally fail, such as a high temp or high speed surface.
Protected by Warranty2 year standard warranty
Additional options available |
Get SupportFree product application support via phone, chat, email, web demos. We will work with you to understand your problem and source the right laser for the job.
|
Want Custom?Let us know your requirements and we will work with you to provide customized or turnkey measurement packages if possible.
|
email: |
phone: |
1-877-507-1955
|
location: |
Boston, MA, USA
|


